I'm still alive and kicking! I had to take an unplanned hiatus from the blog for a while. Sometimes when life happens we just have to step back and concentrate our energies on what's happening. I hope to eventually get back to blogging once a week, we'll see how it goes.
I've been trying to finish projects that have been sitting around for a while (sometimes when I get a new idea, I get so excited about it that I stop the current project and start the new thing... the problem is getting back to the project I interrupted...).
A while back I made a framed puzzle mat for mounting a 4,000 piece puzzle. I had a plan for flipping it and gluing it, I was just waiting for it to be finished. So, during the week between Christmas and New Year's, I tested out my idea and it worked (phew!). And I did it all by myself!
What you will need for this project is
- Clear contact paper
- Mod Podge Puzzle Saver
- Foam core boards
- White glue (I used Elmer's glue)
- Poster board (depends on how large the puzzle is and if you need to use multiple foam core boards)
The basic idea is to cover the puzzle with contact paper, flip it, and glue the foam core to the back of puzzle. So here is the completed puzzle still laying on the framed puzzle mat.
I started by covering the puzzle with contact paper. I rubbed the entire surface thoroughly to make sure every puzzle piece was sticking to the contact paper.
The puzzle can now be lifted right off the framed puzzle mat and the pieces stay together. To be honest, this made me a bit nervous so I put the puzzle back down onto the framed puzzle mat, picked up the mat and leaned it against the back of my sofa.
(If you don't have a framed puzzle mat, you can slide the puzzle covered with contact paper onto a large piece of plywood or cardboard to stand it up. Just make sure to hold the top of the puzzle as you stand it up. Or, if you are braver than me or have a smaller puzzle, you can just lift the puzzle off the surface and flip it over once the contact paper has been applied thoroughly to the surface of the puzzle.)
I then pushed the puzzle, mat and all, over onto the floor. (Here you can see the reinforcements I added to the bottom framed puzzle mat -- I mentioned them in my previous post but didn't have a picture at the time.) I lifted the framed puzzle mat and viola! a flipped puzzle in one piece!
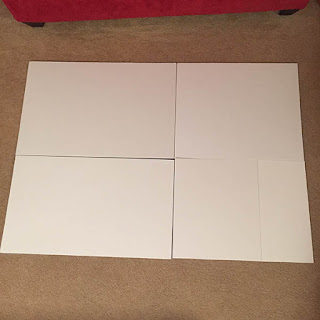
Next I determined how many foam core boards I needed to cover the entire back of the puzzle and cut them down to size (this puzzle measures approximately 53 9/16 in x 37 13/16 in). But before gluing the foam core boards to the puzzle, I covered the entire back of the puzzle with Mod Podge Puzzle Saver. Be careful not to soak the puzzle with the Mod Podge so it doesn't seep through the cracks and glue to the contact paper.
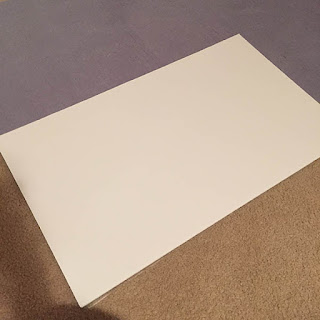
Apply white glue to the entire foam core board and glue it in place. You can place some heavy books on top of it to help it glue. Do this with all the foam core boards.
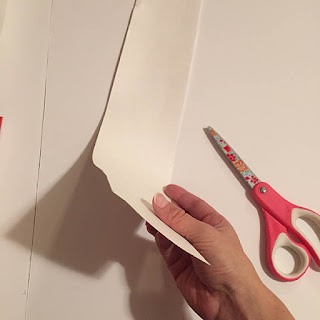
Next cut strips of poster board to cover the junctions where the foam core boards meet. Glue the strips in place.
This is what the back of the puzzle will look like once everything is glued in place.
Allow everything to glue for about a half of an hour, then flip the puzzle over again. Remove the contact paper.
All done! I strongly suggest to put some weights on the puzzle and allow it dry for a few days, so that it won't warp. I placed the discarded backing of the contact paper on the puzzle (just in case any glue seeped through) and covered the puzzle with books.
Now the puzzle is ready for framing or you can put it up on the wall as is (the foam core boards are firm but light weight).


I can/t wait to try this!
ReplyDeleteWhere do you get this contact paper that you can peel off the front of the puzzle when you are done?
ReplyDeleteHi! It is the Con-Tact Clear Adhesive roll. It's the most basic contact paper, I've used it for so many things over the years (especially to protect notebook and book covers). It doesn't damage the puzzle when pulled up (just be gentle :) ).
DeleteDoesn’t the contact paper peel off the picture of the puzzle?
ReplyDeleteI've never had a problem with the contact paper peeling the picture off the puzzle.
DeleteThis is so great! Thank you for sharing. I cant wait to glue my puzzle!
ReplyDeleteI recently learned you can save and reuse your contact paper instead of balling it up and throwing it away place the backing back on it as you remove it from the puzzle!
Yes, you can definitely reuse it! :) This was my last puzzle for a while so I didn't need to save it.
DeleteCan you please tell me the brand and name of the CONTACT PAPER USED as I can only find wallpaper contact paper which cannot be reoved as you have done. Many thanks.
ReplyDeleteHi! It is the Con-Tact Clear Adhesive roll. It's the most basic contact paper, I've used it for so many things over the years (especially to protect notebook and book covers). It doesn't damage the puzzle when pulled up (just be gentle :) ).
Delete