I love to display our daughter's artwork, to me it teaches her that her creativity and expression is a gift and should be valued. But, I'll admit, I have struggled with the best way to display her artwork and crafts.
There are lots of very cool ideas around the web but what initially worked great for me was a gallery wall of Ikea Nyttja frames in a variety of sizes and colors. I would just tape the artwork to the front of the frame, right on top of the glazing (acrylic), because I know myself... I would never ever have the patience to constantly be opening up the frame to change out the artwork! This was a great solution because it also allowed me to tape up thicker pieces of artwork, like paper plate crafts, things painted with 3-dimensional paint, paper crafts with flaps, etc.
I still love the gallery wall but I grew tired of all the taping and really wanted something that was easier to quickly change things out or move things around. I still wanted something that could accommodate artworks of various sizes and thicknesses as well as hanging craft necklaces and little paper ornaments.
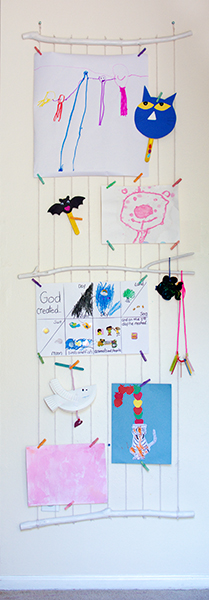
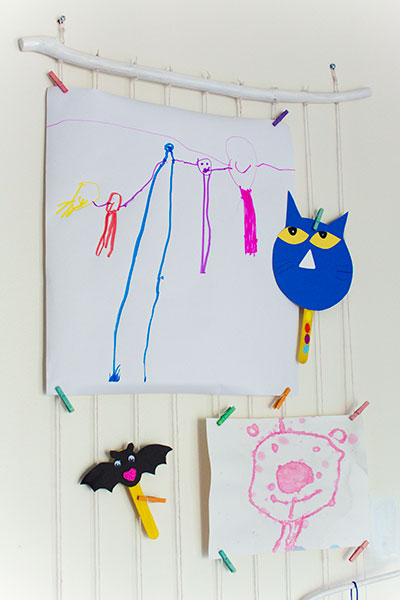
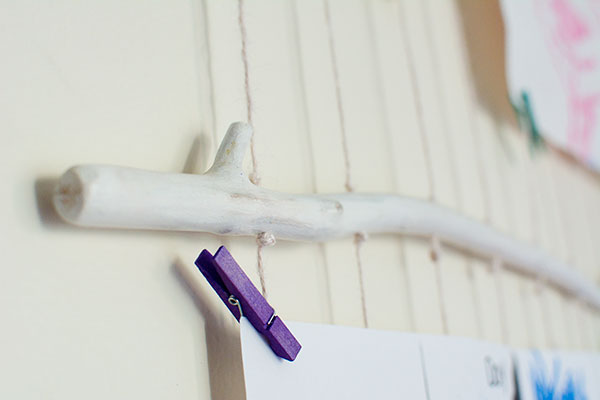
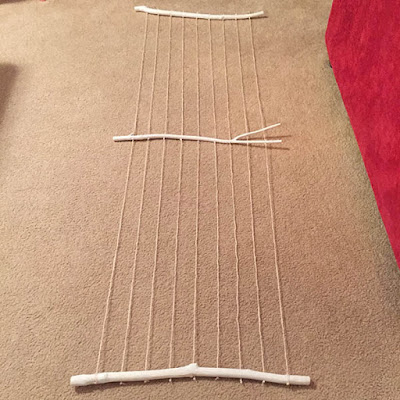
What I came up with was a vertical hanging display made out of tree branches and jute cord! The artwork is attached to the jute cords using colorful mini-clothespins. I made sure to select a branch with a bifurcation so I could easily hang crafts with cords. I love the rustic feel of it! It is 75 inches (190.5 cm) tall and 26 inches (66 cm) wide. The spacing between the jute cords is 2.75 inches (7 cm) and there are 9 cords total.
This is probably one of the cheapest DIYs I've done because I found the tree branches and only had to purchase the jute cord because I had the other materials on hand. Here's what you'll need:
- Tree branches
- Jute cord
- Sandpaper
- Acrylic paint (optional)
- Polycrylic protective finish (optional)
Process:
I just wanted to mention safety before getting into the process. I used a saw, a utility knife, a power sander, and a drill to get the tree branches the way I wanted them. Please, always use personal protective equipment when necessary. Safety glasses or goggles, face masks, half-face respirator masks, gloves... be safe when using power tools, it's very easy for something to go flying and hit you in the eye. Here I am ready to use my power sander (I love this picture!! I put on my gloves after I took the picture.):
1 - Find some fallen tree branches in a public area.
2 - Define how wide you would like the wall display to be. In my case, I opted for 26 inches and marked it on my tree branches.
3 - Saw the tree branches down to size.
4 - Remove the bark (optional).
5 - Sand the tree branches.
6 - Mark the drill points where the jute cord will run through the branch. I had 9 cords in total, spaced 2.75 inches apart. (Another option is to just tie the jute cord around the branches instead of drilling holes, but I believe this is a sturdier solution... there is no chance of the cords slipping around this way.)
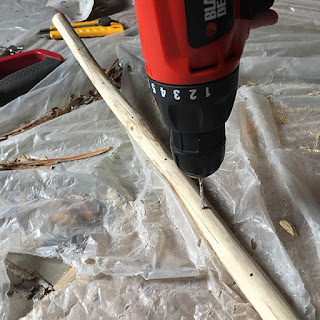
7 - Drill, drill, drill!
8 - The branches are now ready to paint! Painting is optional, I almost left them bare, but ultimately thought the display would look better in white.
9 - I used white acrylic paint and watered it down a bit. I wanted to retain some of the characteristics of the wood, so I figured a white wash would be most appropriate.
10 - Paint!
11 - Allow them to dry.
12 - Apply a sealer. I used Miniwax Water-Based Protective Finish.
13 - Now it's time for the jute cord.
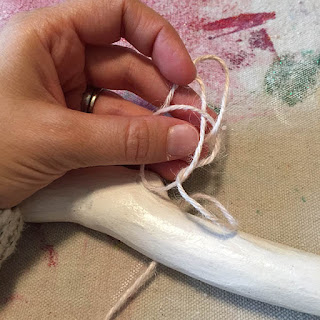
14 - I made a Bowline knot to create a loop for hanging the display to the wall. In total, I had two loops, one at each end of the display (at the ends of cords 1 and 9).
15 - Pass the jute cord through the drill hole in the branch and secure it with a Figure 8 knot.
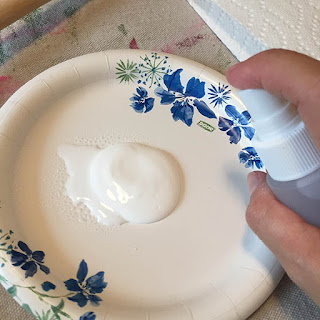
16 - The top of cord 1. Tip: The end of the jute cord can fray and make it difficult to run it through the drill holes. Cover the end with some white glue and allow it to dry. It will be stiff enough to run through the holes without a needle and will not fray.
17 - Space the branches evenly and run the cord through the drill holes. Secure the cord with a Figure 8 knot after exiting each drill hole.
18 - Repeat for cord 9. Cords 2 - 8 do not require a Bowline knot, only Figure 8 knots.
And here it is ready to be hung up on the wall! It took roughly half a day to complete. The longest part was definitely getting all of the cords attached to it... The branch prep and painting only took about 2 hours to do.
I just dunked the clothespins in the liquid watercolors and let them dry. I repeated the process two more times.
The colors turned out beautifully!
I love how versatile this wall display is and I know it's going to get a lot of use! I still plan on using the frames, but probably for special pieces (like the Pressed Flower Children's Art) and this time around I will probably put them inside the frames!












No comments:
Post a Comment